






Your phone gets 300 Mbps on the same router. Your Windows 11 PC gets 40. You have restarted the router, restarted the PC, and the problem is still there. Slow Wi-Fi on Windows 11 is one of the most searched PC problems in 2026, and it has gotten worse since Microsoft’s May 2026 update — KB5089549 — introduced a networking bug that dropped speeds on a significant number of machines, some from 200 Mbps down to 10–20 Mbps overnight.
The fixes on this page are organized by what is most likely causing your specific problem. Start with the diagnostic step below before trying anything else — it tells you whether the problem is Windows itself or your router. That one test saves you from spending an hour fixing the wrong thing.
Do This First — The 2-Minute Diagnostic
Before any fix, run this test. It tells you exactly where the problem is.
Step 1: Go to speedtest.net on your Windows 11 PC and run a speed test. Write down the result.
Step 2: Run the same test on your phone connected to the same Wi-Fi network.
What the results mean:
Phone is fast, PC is slow — The problem is Windows-specific. Your router and internet plan are fine. The fixes in sections 1 through 8 below will solve it.
Both phone and PC are slow — The problem is your router or ISP, not Windows. Skip to section 9.
PC speed varies wildly between tests — Likely a driver issue or network adapter setting. Go to Fix 3 and Fix 4.
Fix 1 — Check If a Windows Update Caused This
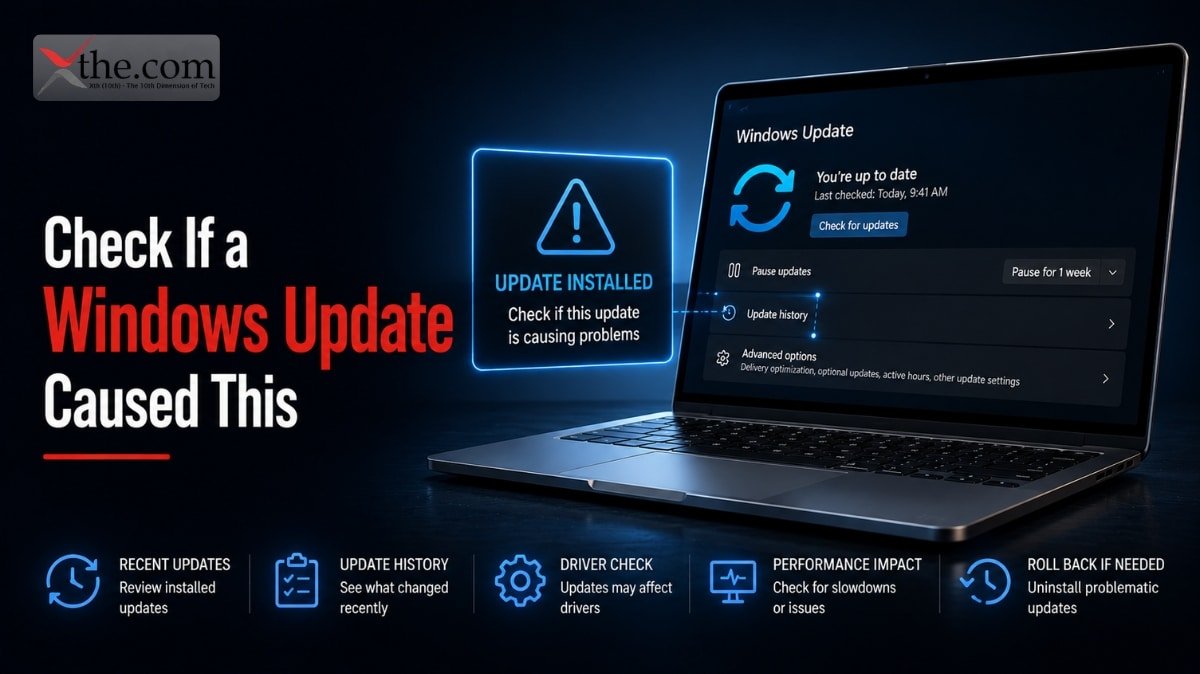
This is the first thing to check in 2026, because it is the most common cause of sudden slow Wi-Fi that appeared overnight.
Microsoft’s May 2026 Patch Tuesday update KB5089549, released May 13, 2026, introduced a networking bug. Users on Reddit and Microsoft’s own Q&A forums reported speeds dropping from 200 Mbps to 10–20 Mbps immediately after installation — with the same router, same plan, same distance from the router.
How to check if an update caused your slowdown:
- Press Windows + I to open Settings
- Go to Windows Update → Update history
- Look at the date your speed problem started
- If a cumulative update installed on or just before that date, that update is likely the cause
How to fix it:
Go to Settings → Windows Update → Update history → Uninstall updates. Find the update that corresponds to when your speed dropped and uninstall it. Restart your PC and retest.
If the update cannot be uninstalled (some cumulative updates lock this), skip to Fix 5 — the Winsock reset often corrects the networking stack damage these updates cause without requiring an uninstall.
Fix 2 — Disable the Modern Standby Hidden Setting
This is the fix that XDA-Developers covered in May 2026 and that most troubleshooting guides have not caught up to yet. Windows 11 has a feature called Modern Standby that keeps your laptop partially active when the lid is closed — syncing files, checking email, and maintaining network connections in the background. The problem: it frequently causes strange latency spikes and inconsistent Wi-Fi speeds after the lid opens, because the network adapter did not fully re-initialize.
How to check if Modern Standby is causing your issue:
If your Wi-Fi is normal after a full restart but gets slower after opening from sleep, Modern Standby is the likely cause.
How to disable Modern Standby:
- Press Windows + S and search for cmd
- Right-click Command Prompt and select Run as administrator
- Type this command and press Enter:
reg add HKLM\System\CurrentControlSet\Control\Power /v PlatformAoAcOverride /t REG_DWORD /d 0
- Restart your PC
- After restarting, your PC will use traditional Sleep mode instead of Modern Standby
To revert this change if needed: run the same command but change the /d 0 to /d 1 and restart.
Fix 3 — Update Your Network Adapter Driver (The Right Way)
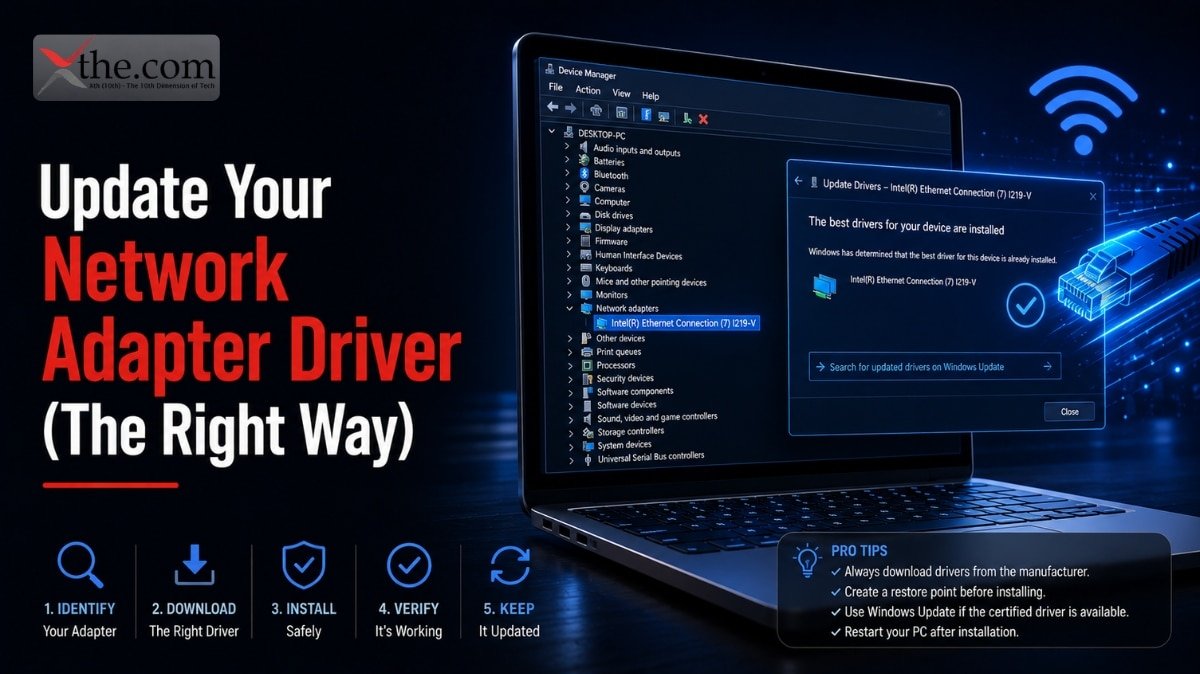
Outdated or incompatible network adapter drivers are the most common cause of slow Wi-Fi on a specific PC when other devices on the same network are fine. Windows Update’s built-in driver search often finds older versions — the correct method is downloading directly from the manufacturer.
Step 1 — Find your adapter:
- Press Windows + X and select Device Manager
- Expand Network adapters
- Find your Wi-Fi adapter — it will say something like “Intel Wi-Fi 6E AX210” or “Realtek RTL8852BE”
- Note the exact model name
Step 2 — Download the correct driver:
- Intel Wi-Fi adapters: Go to intel.com/content/www/us/en/support/detect.html — Intel’s detection tool finds the right driver automatically
- Realtek adapters: Go to realtek.com → Downloads → Wireless LAN
- Qualcomm/Atheros adapters: Search your laptop manufacturer’s support page (Dell, HP, Lenovo) for your specific model — they maintain customized drivers that perform better than the generic Qualcomm ones
Step 3 — Install:
- Download and run the installer
- Restart your PC when prompted
- Run a speed test to confirm the change
Do not use Driver Booster or similar third-party driver update tools — they frequently install incorrect driver versions and can make the problem worse.
Fix 4 — Change Network Adapter Advanced Settings
Your Wi-Fi adapter has hidden settings in Device Manager that significantly affect throughput. Two settings in particular are commonly set to power-saving defaults that throttle speed.
- Press Windows + X → Device Manager
- Expand Network adapters
- Right-click your Wi-Fi adapter → Properties
- Click the Advanced tab
- Change these settings:
Roaming Aggressiveness — Set to Lowest. This stops Windows from constantly scanning for a “better” signal while you are already connected, which causes intermittent speed drops and disconnections.
802.11n Channel Width for 2.4GHz — Set to Auto instead of 20MHz only. This allows your adapter to use wider channels when available.
Transmit Power — Set to Highest. This is often set to a middle value by default to save battery, but it reduces signal strength and throughput.
Wireless Mode — Set to the highest available option (usually IEEE 802.11a/b/g/n/ac/ax). Some adapters default to a lower mode.
After changing these settings, click OK and restart your PC.
Fix 5 — Reset the Network Stack With Command Prompt
Windows maintains a Winsock catalog and TCP/IP stack that handle all network communications. When these get corrupted — either from a bad update, a VPN that did not uninstall cleanly, or software that modified network settings — they cause persistent slow connections that survive driver updates and setting changes.
This reset is the most effective single fix for speed problems that appeared after software changes.
- Press Windows + S, type cmd, right-click Command Prompt → Run as administrator
- Run each of these commands in order, pressing Enter after each:
netsh winsock reset
netsh int ip reset
ipconfig /release
ipconfig /flushdns
ipconfig /renew
- Restart your PC after all commands complete
- Reconnect to your Wi-Fi and run a speed test
This resets Windows networking to a clean default state. It does not affect your saved Wi-Fi passwords or network settings — it only resets the underlying network stack.
Fix 6 — Change Your DNS Server
Your default DNS server — assigned by your ISP — is often slow, especially during peak hours in the evening. DNS translates website addresses into IP numbers every time you load a page. A slow DNS server adds latency to every page load, which can feel like slow internet even when your download speeds test fine.
Switching to a faster public DNS server is a two-minute change that often improves browsing noticeably.
- Press Windows + I → Network & Internet → Wi-Fi → click your connected network
- Scroll to DNS server assignment → click Edit
- Change from Automatic to Manual
- Enable IPv4
- Set Preferred DNS to: 1.1.1.1 (Cloudflare — fastest DNS globally in 2026 benchmarks)
- Set Alternate DNS to: 1.0.0.1
- Click Save
Alternative options: Google DNS (8.8.8.8 and 8.8.4.4) is slightly slower than Cloudflare but equally reliable. Avoid your ISP’s default DNS if speed matters.
Fix 7 — Disable Background Bandwidth Users
Windows 11 has multiple built-in processes that consume bandwidth in the background without obvious indication. During Windows Update downloads, active upload for Windows Delivery Optimization, OneDrive syncing, and app updates from the Microsoft Store, your available bandwidth for actual use can drop significantly.
Check what is using your bandwidth:
- Press Ctrl + Shift + Esc to open Task Manager
- Click the Network column header to sort by network usage
- Identify any processes using significant upload or download bandwidth
Disable Windows Update active hours if updates are running: Settings → Windows Update → Advanced options → Active hours. Set active hours to your waking hours so updates download and install when you are sleeping.
Limit Delivery Optimization bandwidth: Settings → Windows Update → Advanced options → Delivery Optimization → Advanced options. Set Absolute bandwidth limits for both download and upload. This stops Windows from using your full connection to distribute updates to other computers.
Pause OneDrive sync during working hours: Right-click the OneDrive icon in the taskbar → Pause syncing → select your pause duration.
Fix 8 — Disable Wi-Fi Sense and Metered Connection Settings
Two Windows 11 settings that are on by default can interfere with Wi-Fi performance.
Check if your connection is set as Metered:
Settings → Network & Internet → Wi-Fi → click your network → scroll to Metered connection. If this is enabled, Windows limits background data and some applications throttle their connections. Turn it off unless you are on a limited data plan.
Check Power Plan settings:
- Press Windows + S and search for Power plan
- Select Choose a power plan
- Select Balanced or High performance — avoid Power saver, which reduces Wi-Fi adapter power and throughput
- Then go to Change plan settings → Change advanced power settings
- Find Wireless Adapter Settings → Power Saving Mode
- Set to Maximum Performance
This setting alone is responsible for slow Wi-Fi on many laptops that are plugged in and should not be throttling anything.
Fix 9 — When the Problem Is Not Windows (Router and ISP Fixes)
If your phone and PC both showed slow speeds in the diagnostic test, the problem is upstream from Windows. These steps address the most common router and ISP causes.
Restart the router correctly: Unplug the power cable from the back of the router — not just the wall socket. Wait 30 full seconds. Plug it back in and wait 2–3 minutes for a full boot before testing. A quick restart from the router’s admin panel does not clear the memory cache the same way a full power cycle does.
Check your Wi-Fi band: Most routers broadcast both 2.4 GHz and 5 GHz networks. The 5 GHz band is faster but shorter range. The 2.4 GHz band is slower but reaches further through walls. If your Windows PC is connecting to the 2.4 GHz band while your phone connects to 5 GHz, the phone will consistently test faster.
Check which band your PC is on: Settings → Network & Internet → Wi-Fi → click your connected network. The network properties page shows frequency band. If it shows 2.4 GHz and a 5 GHz network is available, disconnect and reconnect to the 5 GHz network specifically.
Check for Wi-Fi channel congestion: In apartment buildings or dense neighborhoods, many routers on the same Wi-Fi channel create interference. Download WiFi Analyzer from the Microsoft Store (free) to see which channels nearby networks are using. Log into your router’s admin panel (typically 192.168.1.1 or 192.168.0.1) and change your router’s Wi-Fi channel to one with less competition — channels 1, 6, or 11 on 2.4 GHz, or any channel with less overlap on 5 GHz.
Fix 10 — Full Network Reset as a Last Resort
If none of the above fixes resolved the problem, a full network reset in Windows returns all network components to their factory defaults. This removes all saved Wi-Fi passwords, VPN settings, and network adapter configurations — use it as a last resort.
- Press Windows + I → Network & Internet
- Scroll to the bottom → Advanced network settings
- Click Network reset
- Click Reset now → confirm with Yes
- Your PC will restart
After the reset, reconnect to your Wi-Fi and enter the password. Run a speed test to confirm whether the reset resolved the issue.
My Wi-Fi Was Fine Until a Windows Update — What Now
This is the most common scenario in 2026. The May update KB5089549 and earlier update KB5077181 (March 2026) both introduced networking regressions that dropped speeds significantly on affected machines.
Fastest fix path:
- First try Fix 5 (Winsock reset) — this resolves the networking stack damage without uninstalling the update
- If that does not work, try Fix 3 (driver reinstall) — updates sometimes overwrite adapter drivers
- If still not resolved, try uninstalling the update through Windows Update → Update history → Uninstall updates
If the update cannot be uninstalled and Winsock reset did not help, Microsoft typically releases a hotfix within 2–4 weeks of confirmed widespread issues. Check Windows Update for any out-of-band patches.
My Phone Wi-Fi Is Faster Than My PC on the Same Network
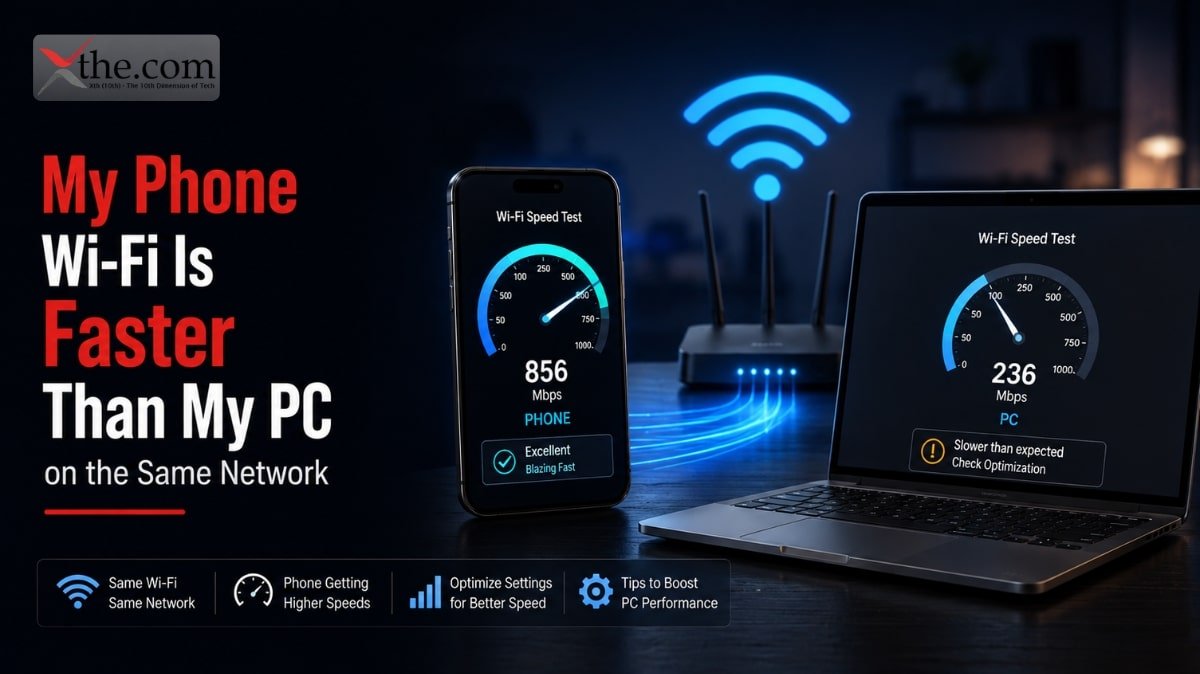
This is almost always a Windows-specific issue rather than a router or ISP problem. Work through fixes in this order:
- Fix 4 — Advanced adapter settings (Transmit Power and Roaming Aggressiveness)
- Fix 3 — Download the manufacturer’s driver directly
- Fix 8 — Power plan Wi-Fi adapter setting set to Maximum Performance
- Fix 5 — Winsock reset
In most cases, either the adapter’s power setting or an outdated driver is the cause when the phone tests significantly faster than the PC on identical Wi-Fi conditions.
Frequently Asked Questions
1. Why did my Windows 11 Wi-Fi suddenly get slow with no changes?
In 2026, the most common cause of sudden unexplained slowdowns is a Windows update. Check Windows Update history and look for updates installed around the time the problem started. The May 2026 KB5089549 update and the March 2026 KB5077181 update are the two most widely reported culprits. Running the Winsock reset commands in Fix 5 resolves the majority of update-caused speed drops without requiring an uninstall.
2. How do I fix slow Wi-Fi on Windows 11 without administrator access?
Without admin rights, your options are limited but not zero. You can change DNS server settings (Fix 6) without admin rights on most Windows 11 configurations. You can also check and change your power plan and active hours. Running Command Prompt commands and updating drivers requires administrator access — contact your IT administrator if you are on a managed work device.
3. Will reinstalling Windows fix slow Wi-Fi?
Sometimes, but it is a disproportionate fix for a problem that the steps above resolve in most cases. A Windows reset removes accumulated software and setting conflicts that cause persistent networking issues. Before resetting, try Fix 10 (network reset) which achieves similar results without a full OS reinstall.
4. My Windows 11 laptop Wi-Fi is slow when plugged in but fast on battery — why?
This is a known Windows 11 power management behavior. When plugged in, some configurations apply a different power plan than when on battery, which counterintuitively results in slower Wi-Fi if the plugged-in plan has power saving mode for the wireless adapter. Go to Fix 8 and set the Wi-Fi adapter power saving mode to Maximum Performance under your plugged-in power plan.
5. How do I check my Wi-Fi speed accurately on Windows 11?
Use speedtest.net or fast.com in a browser with all other browser tabs closed. Close any active downloads or streaming before testing. Run the test three times and average the results — a single test can be affected by temporary conditions. For the most accurate reading of your connection’s actual throughput, connect via Ethernet cable and compare that result to your Wi-Fi speed test to isolate how much of the gap is signal loss versus a Windows configuration issue.
The Bottom Line — Fix Order That Resolves Most Cases
If you want the fastest path to fixing slow Wi-Fi on Windows 11 without reading everything above, work through this order:
Start here: Run the phone vs PC diagnostic to confirm the problem is Windows-specific.
Then try in this order:
- Check Windows Update history for recent updates (Fix 1)
- Run the Winsock reset commands (Fix 5) — this single fix resolves the most cases
- Set Wi-Fi adapter power to Maximum Performance (Fix 8)
- Download and install manufacturer’s driver directly (Fix 3)
- Change Advanced adapter settings — Transmit Power to Highest (Fix 4)
- Switch DNS to Cloudflare 1.1.1.1 (Fix 6)
Most users find their issue resolved within the first three fixes. The remaining steps are for persistent problems that survive the initial fixes.